Some Sunday mornings you spring out of bed, ready to cook a full English and take on the world (or Oxford Circus) powered by the holy breakfast trinity of eggs, bacon and HP sauce.
Other Sunday mornings, no force, human or divine, could part you from your doona.
This is one of those mornings, and since I’m nursing a cold that, like a bad house guest, just won’t seem to pack up and leave, here is what I ate. Not because I think you need a recipe for something as simple as pouring milk over cereal, but because occasionally we all need a reminder of how deeply satisfying a smoked salmon bagel can be.
Smoked salmon bagels
1 wholemeal bagel (ok, I’ll concede to the sesame seeded kind too)
2 tbsp Philadelphia cream cheese
2 slices smoked salmon
I really did mean to whip the cream, but sometimes loose & unstructured is just fine.
Even the most savoury-toothed person would have to admit that there’s something quite delightful about the idea of banoffee pie.
The name immediately conjures up all sorts of lovely images: golden, sticky caramel cascading onto a bed of crunchy biscuit crumbs; smooth slices of pale sunshiney banana; and curls of rich, bittersweet chocolate raining down in a dark flurry onto fluffy clouds of whipped cream.
You may think I’m waxing ridiculously lyrical, but you’ll understand when you eat it.
There are lots of variations of banoffee pies, but all of them involve the delicious combination of banana and toffee, and most will advise you to add whipped cream to the top. I feel, however, that there would be no great crime in adding chocolate or nuts or honeycomb pieces or even a smattering of peanut butter. These things are meant to evolve.
This banoffee pie doesn’t need to be baked, so it’s perfect for the oven-free amongst us. Who said that tiny kitchens need be deprived?
You can make this gluten-free if you like.
Banoffee pie
250g digestive biscuits (I used gluten-free biscuits, but feel free to go ahead and use whatever digestives you like)
2 x 100g unsalted butter
100g dark brown sugar (I used muscovado)*
400g can of condensed milk
4 bananas
300ml double thick cream
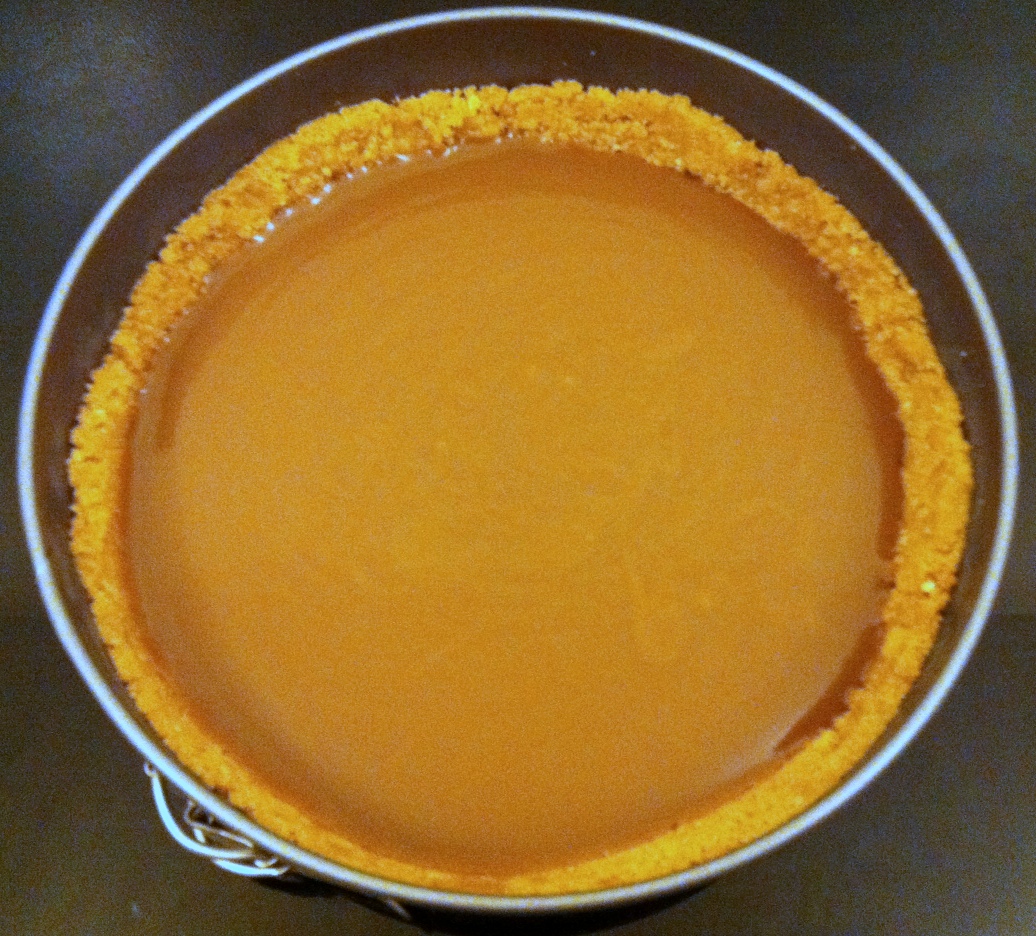
Grease a 20cm loose-bottomed springform cake tin.
Crush the digestives into powder; I used a freezer bag and a Vegemite jar to work off some aggression, but a rolling pin would probably be faster.
Melt 100g of butter and add to the digestives, mix into a soft, damp sand.
Press the biscuit mix into the cake tin, coming slightly up the sides and making sure it is packed tightly. You want to form a hollow that is about 1.5cm deep.
a biscuit base doesn’t need to be baked
Place the tin into the freezer for at least 20 minutes.
Meanwhile, place 100g of butter and the sugar into a pot and melt together, stirring constantly.
When you can no longer feel the sugar granules, add the condensed milk and bring to a rapid boil, stirring constantly. Boil for at least two minutes, until the mix forms a golden, caramel colour.
thick, luscious caramel
Allow to cool slightly, then pour the caramel into the biscuit base and place in the refrigerator for at least one hour.
at this point, it’s just a toffee pie
Before serving, top with sliced banana and whipped cream.
Note: A few of my guests thought this pie was a little too sweet, so I’d say you could safely reduce the sugar content. I haven’t tried it out to see how it goes, but next time I’d try halving the sugar. I mean, that almost makes it healthy – right?
Don’t laugh, but there are tortellini on my salad.
Sometimes I suspect the best food combinations have less to do with a considered stroke of genius and more to do with indecision, greed or laziness. Breakfast or lunch? Brunch sounds great! Meat or bread first, or keep playing cards? Hello, sandwich! Croissant, or donut? Behold the cronut! (tastier but much less amusing than its croissant/flapjack hybrid cousin, the crapjack.)
All of this is justification for what I’m sure you’re going to love, even if it does sound a little strange at first: a warm tortellini salad.
I’ve recently come back from Australia and moved into a new flat, which means that the cupboards are crazily, disconcertingly bare. The local Sainsburys is being far less cooperative than my old Tesco (why are the washing gloves not next to the washing up liquid? Why are dried pulses not in the vegetable or rice sections? For the love of God, are there any insoles left in London?), but I will prevail in time, and my cupboards will go back to looking like I’m preparing to sit out a small nuclear disaster.
In the meantime, though, supper is the quickest-of-quick meals: pasta and sauce.
There’s really nothing like coming home in the freezing sleet and gale force winds and diving into a pile of warm, comforting pasta. I suspect that my brief and unsuccessful stint at proper low-carbing had more than a little to do with my ongoing love affair with spaghetti. Pasta is a hug on a plate.
The thing is, pasta doesn’t have the healthiest reputation, and the vitamin content of a jar of sauce is not spectacular. But salads are just so cold and uninspiring at this time of year. What’s a girl to do?
The warm tortellini salad is the best of both worlds: a moderated helping of pasta and all the nutritional goodness of a salad. If you time it right, the pasta will still be warm and the salad crisp, and you’ll feel virtuous and beloved all at the same time.
Warm tortellini salad
150g tortellini
Salad of choice – I use baby spinach, plum tomatoes, capsicum and chestnut mushrooms
Good balsamic vinegar
Boil a pot of water whilst you prepare the salad vegetables.
Salt the boiling water and cook the tortellini as directed on the pack. While you’re waiting, place the salad on a plate.
Drain the tortellini and add to the salad. Drizzle with balsamic vinegar.
It’s almost embarrassing to call this a recipe, but there you have it. I will say that tortellini is very easily overcooked (even when the directions say 3 minutes) and I really dislike soggy pasta, so I tend to knock a minute or so off the cooking time. Enjoy!
Eggplants, for me, are tremendously exciting and deeply satisfying at the same time. I can’t get over their brilliant purple hues – from dark, plummy violets to luminous lilacs and lavenders, I think eggplants are possibly the prettiest fruit I’ve ever seen, and that’s without being biased by the lovely velvety texture and mild, creamy taste.
Ok, I haven’t totally lost the plot. There is a reason that I’m waxing lyrical about eggplants, and it’s because this beautiful Angela Aubergine inspired tonight’s dinner: homemade oven-baked pizza.
To be honest, I would eat pizza a lot more if it wasn’t so unhealthy. It’s true that the kind you order on the phone or buy in freezer sections can be extremely high in fat and calories and carbs and just about every other tasty thing in the world – but if you make it yourself, you get to control what goes onto it and you get to use up all the vegetable odds and ends knocking around in your fridge.
Delicious, convenient and fast.
This one is a relatively low-fat pizza and clocks in at around 250 calories. No, really.
Everyone’s got their favourite pizza ingredient, and I fully encourage random experimentation (the best pizza I’ve ever eaten had radicchio and truffle sausage on it). The one thing I will say is that the base is incredibly thin, so if you do want to place a lot of ingredients on it, you may need to double the base. Glue them together with a smattering of mozzarella.
While the mushroomy simplicity of pizza al funghi never fails to seduce me, I love the fiery heat of salami and the creamy texture of eggplant. The burst of colour that rocket lends completes the pizza, and my night.
Pizza – obviously, all the toppings are optional, but here’s what I used:
1 wholemeal wrap (I used a sorj wrap, but you can use pita or an actual pizza base)
9 slices of eggplant (slice as thinly as possible so it cooks)
2 mushrooms, sliced
Roasted capsicum
1 slice hot salami
Mozzarella cheese (I used bocconcini)
Rocket
To make the pizza sauce, heat the oil over a low heat and crush the garlic into the oil.
Add the tomato paste, tomatoes and herbs with a little water and bring to a boil, then reduce and simmer for 15 minutes, or until the tomatoes have fallen apart.
pizza sauce
Preheat the oven to 180 degrees celcius and prepare the vegetables.
Assemble the pizza. Start with a small amount of the sauce, layer on the vegetables and salami and top with cheese.
I love the beautiful little baby bocconcinis.
Place in the oven and bake for 15 minutes or until the cheese has melted.
Top with rocket and serve with a large glass of red wine.
When bananas are so brown they basically blend with the benchtop, it’s time to make banana bread.
On the banana spectrum from sappy green to mushy brown, there’s only a very small window where I like to eat a raw banana, and it makes me feel ridiculous to buy just one at a time. But I could eat banana bread every day of the week and never get tired, so sometimes I buy bananas in bunches to deliberately let them go brown.
Why throw these beauties out when they can bring you so much happiness?
Walnuts are the traditional nut to add to banana loaves, and with good reason – I love the soft resistance of a walnut in a piece of bread. That being said, banana bread is very forgiving, so if you don’t have walnuts you can use a handful of other nuts, or leave them out altogether.
Wholemeal flour is grainier and heavier than white flour, but that’s also why it’s better for you. Higher in fibre, folate and vitamins, wholemeal flour has a lower glycaemic index and will keep you fuller for longer.
Feeling virtuous never tasted so good.
Wholemeal banana bread
1/2 cup (8 tablespoons) butter – I used Proactiv Light
1/2 cup brown sugar, light or dark, firmly packed
1 teaspoon vanilla extract
3/4 teaspoon baking soda
1/2 teaspoon salt
3 medium to large bananas, brown as can be
1/8 cup honey
2 large eggs
2 cups wholemeal flour
1/2 cup chopped nuts
100g chopped dark chocolate (optional)
Preheat the oven to 180 degrees Celsius and grease a loaf tin with butter, oil or spray.
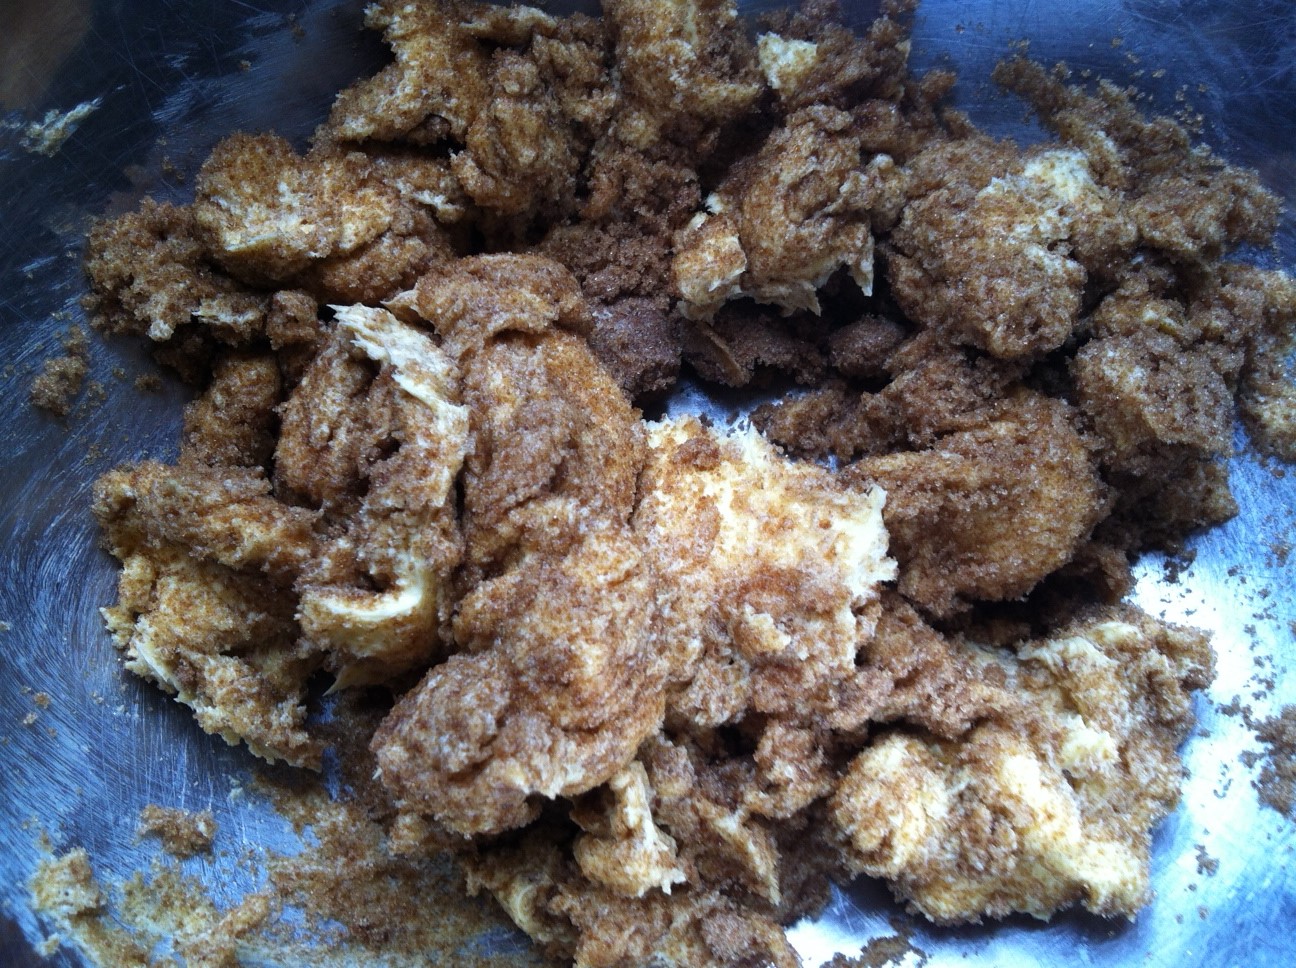
Take a large bowl and add the butter and brown sugar.
Get started with this glorious, sandy mess.
Beat the butter and sugar together. In the tiny kitchen I would just use a spoon and some elbow grease, but with an electric mixer it goes this delicious caramel colour.
Such a beautiful caramel colour.
Add the vanilla, baking soda, salt and bananas and beat until combined.
Beautiful treacley rivers.
Add the honey and eggs and beat until combined.
Add the flour, nuts and chocolate, stirring until combined.
Let the mix rest for 10 minutes and then spoon into the loaf tin. Bake for 50 minutes. Cover with foil to prevent excess browning, then bake for another 10 minutes. Stick a toothpick through the centre and if it comes out clean, it’s done.
Is that chocolate I see on the top?
Remove from the oven and stand for 10 minutes, then remove from the tin and place on a cooling rack.
When the air is crisp and the days are short and cool, there’s nothing quite like a beef and red wine stew.
You’d be forgiven for having a sneaking suspicion that it’s a great excuse to snaffle myself a nice glass of red with dinner, but really, it’s so much more than that. I don’t eat a lot of beef, but when I do there’s a certain weightiness to it that’s perfect for a cold winter’s night.
There’s something very comforting about the tried-and-tested combination of beef, carrots and herbs, muddled together in synergistic harmony. Then there’s also the ritual of mushing an already-soft stew with a fork so that it falls into a tender heap atop a bed of mashed potatoes, staining their creamy perfection with little rivulets of rich gravy.
The first taste is like a big, warm hug. If you’re under the weather, out of sorts or nursing a broken heart, this is the stew you want to cook.
Beef and red wine stew
750g chuck steak, cubed
4 tbsp plain flour
2 onions
5 carrots
2 sticks of celery
2 tomatoes
3 cloves garlic
1 sprig of rosemary
1 small handful of parsley
500ml beef stock
250ml red wine
Salt and pepper
They’re different colours, but only because that’s what was in the cupboard.
Start by quartering the onions and placing them, with a little oil, in a large pot over a low heat.
While it’s warming up, chop the celery and 1 carrot into very small pieces. Add these to the pot and cook over a low heat.
Season the flour with salt and pepper and toss the cubes of steak in the flour, coating them with a fine dusting. Add the steak to the pot and fry until browned.
Add the other carrots, stock, red wine, rosemary and tomatoes. Cover and simmer for 2 hours or until the beef falls apart. Remove the tomato skins and rosemary before adding the parsley at the very last minute.
Garnish with a little extra chopped parsley and serve with greens and potatoes.
Let’s talk about wine: the general consensus amongst the cooking community is that it’s not a huge issue what kind of wine you use, but it must be good enough to drink on its own. If you go buying crappy wine that you wouldn’t serve, the flavours are intensified when you cook it, giving you a horribly bitter stew with a cheap aftertaste that’ll remind you of every Friday night of your 20s. Just say no.
Australia has many great things, including my parents, my sister, my friends and a full-size kitchen. Before I left London, I dreamed of the big oven in my parents’ kitchen and had plotted and schemed many dishes that I wanted to cook – one for each day of the week – a captive set free at last, if you will.
garlic roast potatoes
Of course, I underestimated the strength of pent-up parental affection, which is taking form in a tidal wave of soups, stir-fries and special cakes that I ‘just don’t get in London’. (It’s true. There’s nothing quite like braised pork made with mushrooms and love.)
My presence has kept both my parents in the kitchen for weeks, toiling away, and I’ve been begging to have a turn at the stove if only to give them a break. Tonight, I got my chance… so I went all-out with the ultimate winter meal: a roast with all the trimmings.
winner winner chicken dinner!
If you’re not fortunate enough to have an oven in your tiny kitchen, just commandeer a friend’s. Who doesn’t love a roast bird?
Roast chicken
1 large chicken (or 2 small chooks)
1 onion
3 cloves of garlic
1 tablespoon of mixed herbs
2 tablespoons of butter (or Proactiv)
1 lemon
Olive oil
Take the chicken out of the fridge and let it rest for an hour before preparing it. This helps it to stay moist.
Preheat a fan-forced oven to 180°C.
Wash the chicken and pat dry with kitchen paper. Make sure the skin is really dry because it will help it to crisp up.
Finely chop the onion and garlic, then mix with the herbs and butter. I used Proactiv Light, and it worked just fine.
Place the lemon into the cavity of the bird (or chop in half and place into the two smaller birds). Take the Proactiv mix and place a small amount into the cavity, then slide the rest under the skin of the bird.
Place the chicken breast-side-up onto a roasting tray and bake for 90 minutes. Turn it over at 60 minutes, and then again at 80 minutes. Test that the bird is done by poking a skewer or fork into the thickest part of the breast and checking that the juices run clear.
honeyed roast carrots
If you want to serve with the holy trinity of the roast vegetables – roast potatoes, honeyed roast carrots and peas – then the best time to add the potatoes and carrots to the oven is at the 30-minute mark. When you take the chicken out of the oven to rest (15 minutes), flick the grill on high to crisp the potatoes up.
The highly photogenic use-everything-up fridge omelette.
Let’s face it: everything in my fridge has seen better days.
How could I have let it come to this? Well, there’s a good reason for the very-unlike-me paucity of food in the tiny kitchen; I’m moving next week and I’m struggling to clear my cupboards to make things as simple as possible. That means the half-bags of pasta, cup of lentils, highly ambitious biryani mix, on-special kilo of chickpeas – it all has to go. I’ve been doing all sorts of odd culinary contortions (chicken bourgignon, anyone?) in an effort to use everything up.
So at the end of a determined month-long embargo on buying goods, my fridge is in a pretty sad state. What a creative and nutritional challenge!
Chop the haloumi into small chunks (rather than the slices used in a haloumi salad). Place in a non-stick frypan over medium-high heat. If your pan is properly non-stick, you won’t need oil.
Fry the haloumi until it begins to brown. This should take around 5 minutes. Make sure you flip the pieces so both sides get browned.
Meanwhile, slice the pointed pepper into slivers. Add them to the pan once the cheese is browned, then cover with the eggs.
I am not a great omelette-maker. That perfect omelette shape eludes me, especially since I don’t have a grill to finish the top. But I make up for this by not caring in the slightest what shape my omelette turns out to be. I wait until the edges of the omelette turn pale, meaning it’s safe to flip, then I flip it with two spatulas onto its other side and give it thirty seconds. Then I slide it onto the plate, attempting to fold it in half as I go.
The haloumi is really salty, so no seasoning is required. Serve with a drizzle of balsamic if you like, and a pile of pickled baby beetroot if it’s there just waiting to be used.
If you’re ever in Sydney’s inner west, swing by a restaurant known as Baja Cantina in Glebe and you’ll understand why the top end of my food-rating spectrum is food for which you would consider moving countries.
Is that a little extreme? You might think so if you had never eaten the nachos at Baja Cantina. The first time I tried them, my little head exploded with the colours, tastes and textures of a country I had never seen; the salty crunch of thick, hand-cooked corn chips, creamy, gently spiced beans, fire-laced salsa and jalapenos and zesty guacamole married in perfect harmony by smatterings of mature cheese and a dollop of sour cream.
I’m getting a little emotional just thinking of it.
My bestie and I have been to Baja Cantina hundreds of times, the colourful walls bearing silent witness to our laughter, tears, venting sessions, tantrums, dramas and soul-searching conversations that can only occur over a plate of Sydney’s finest nachos.
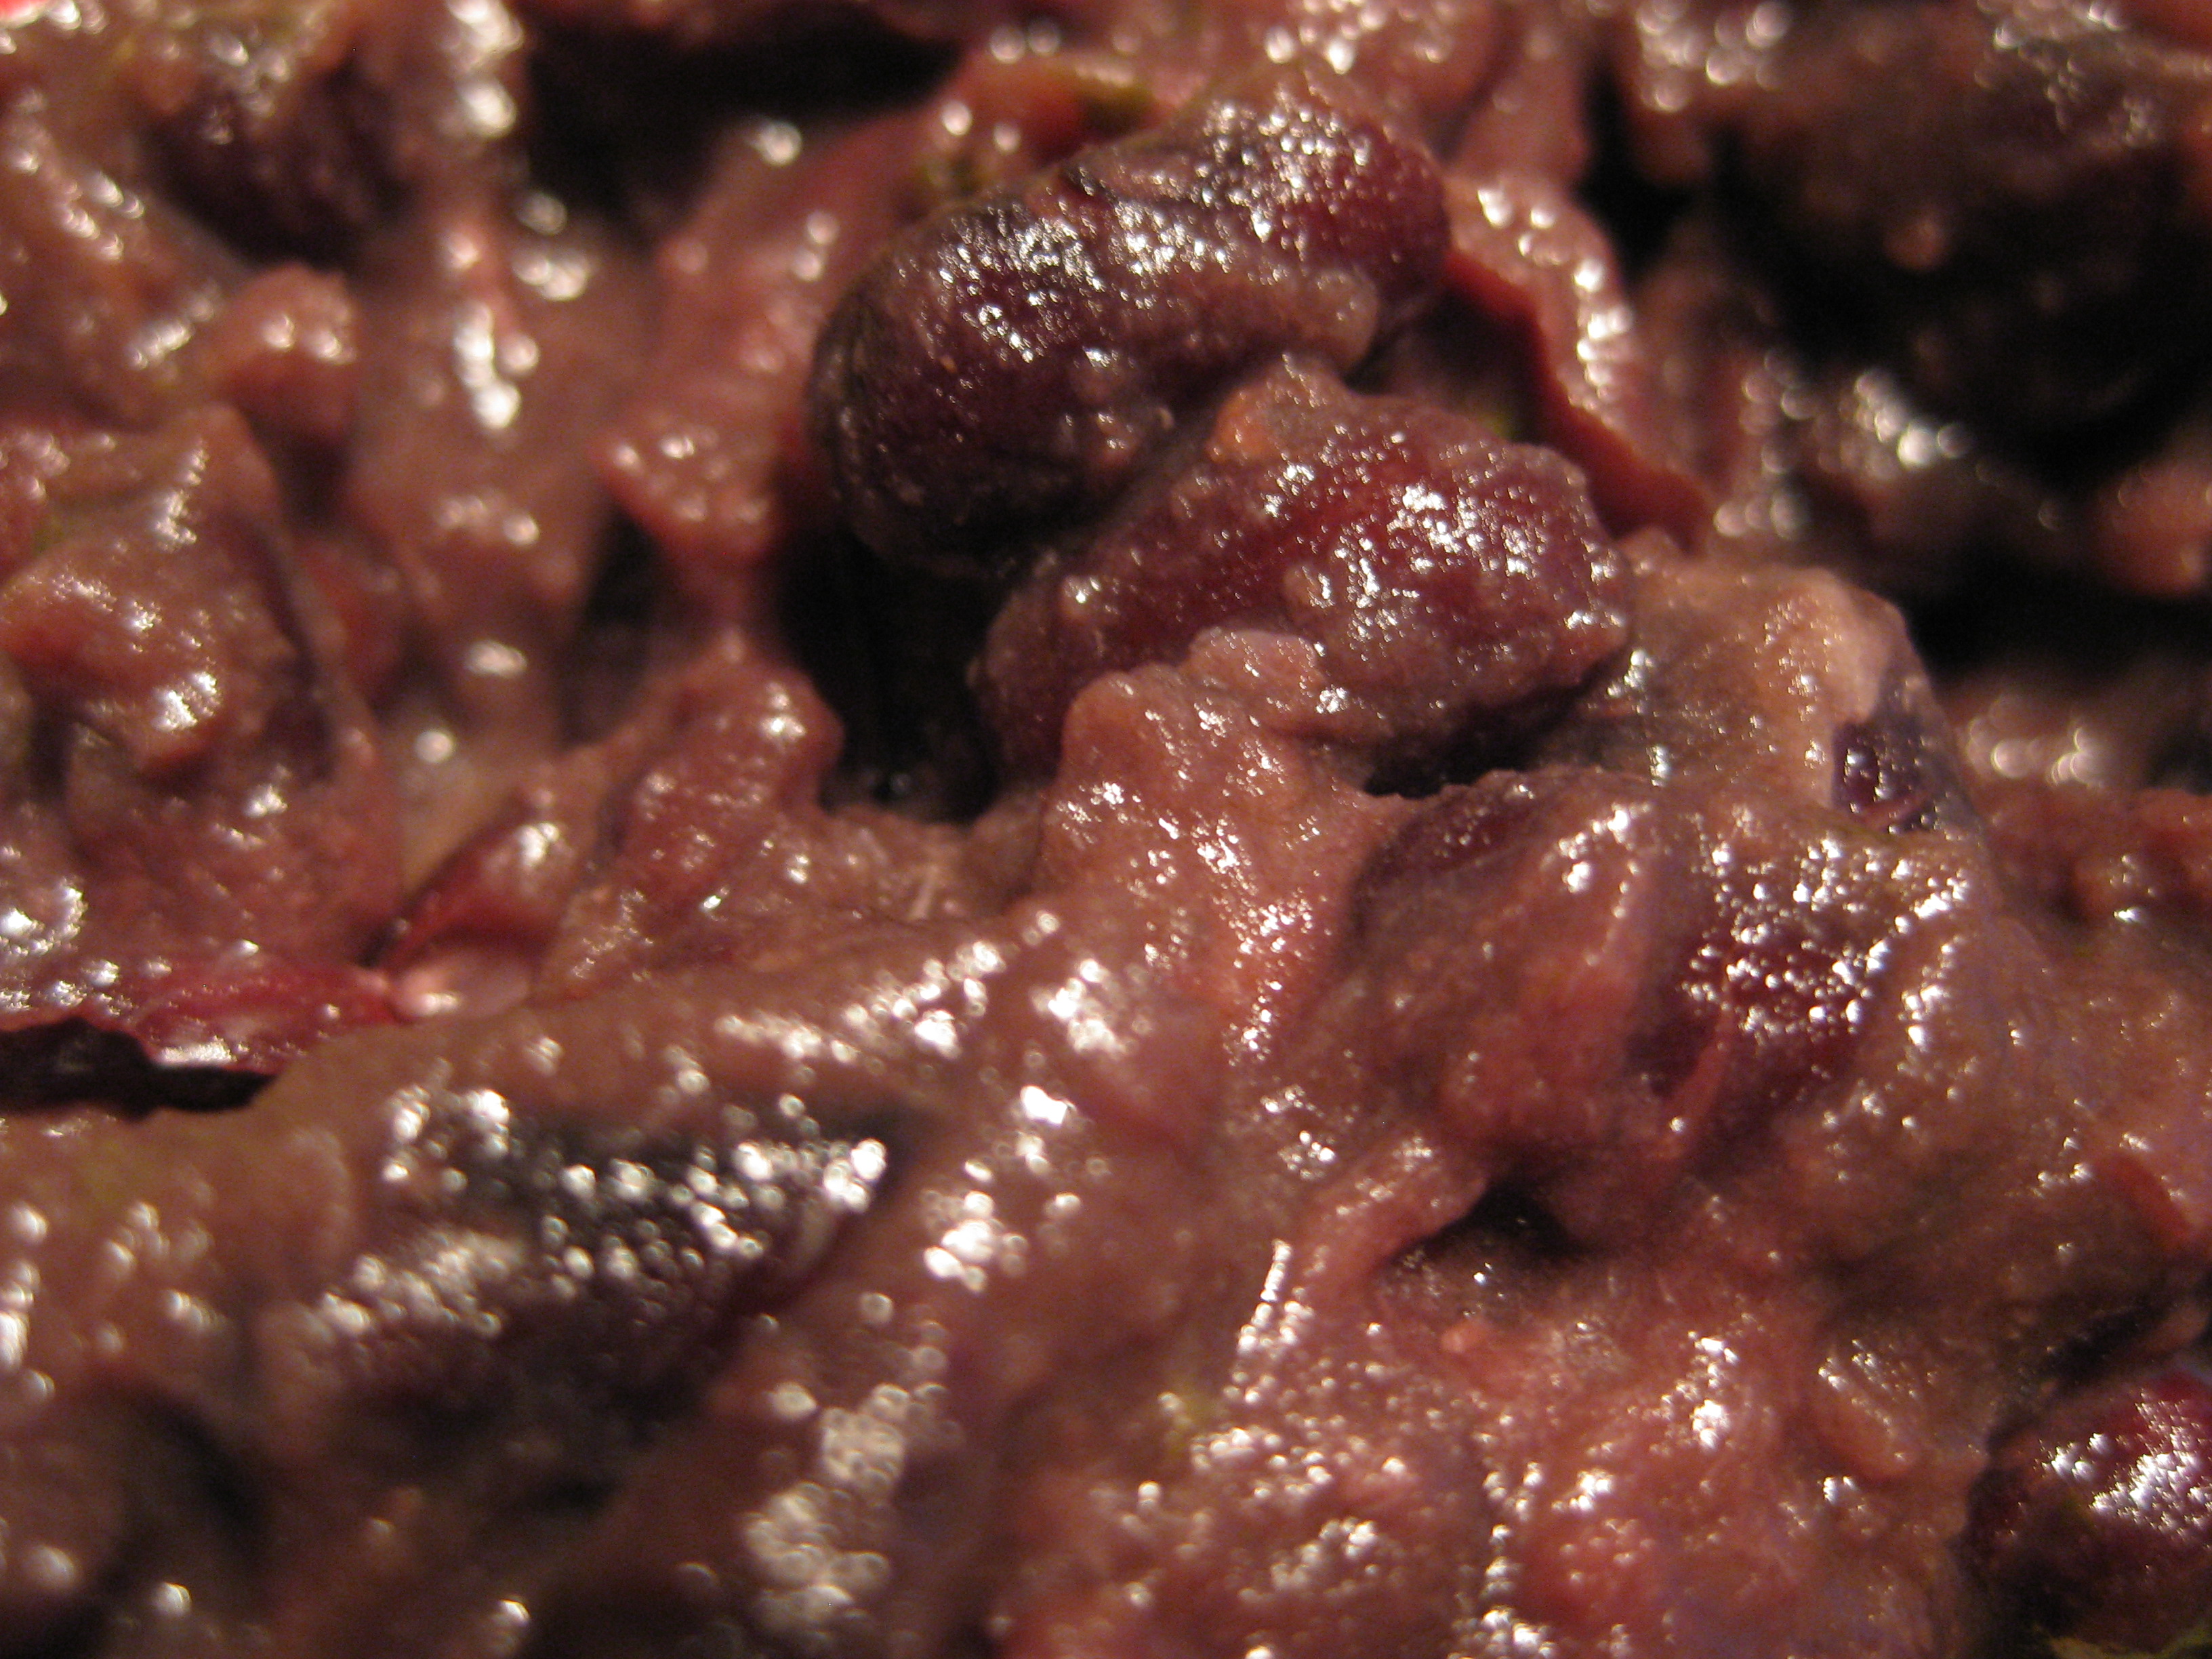
They’re not exactly photogenic now. But you’ll understand when you taste them.
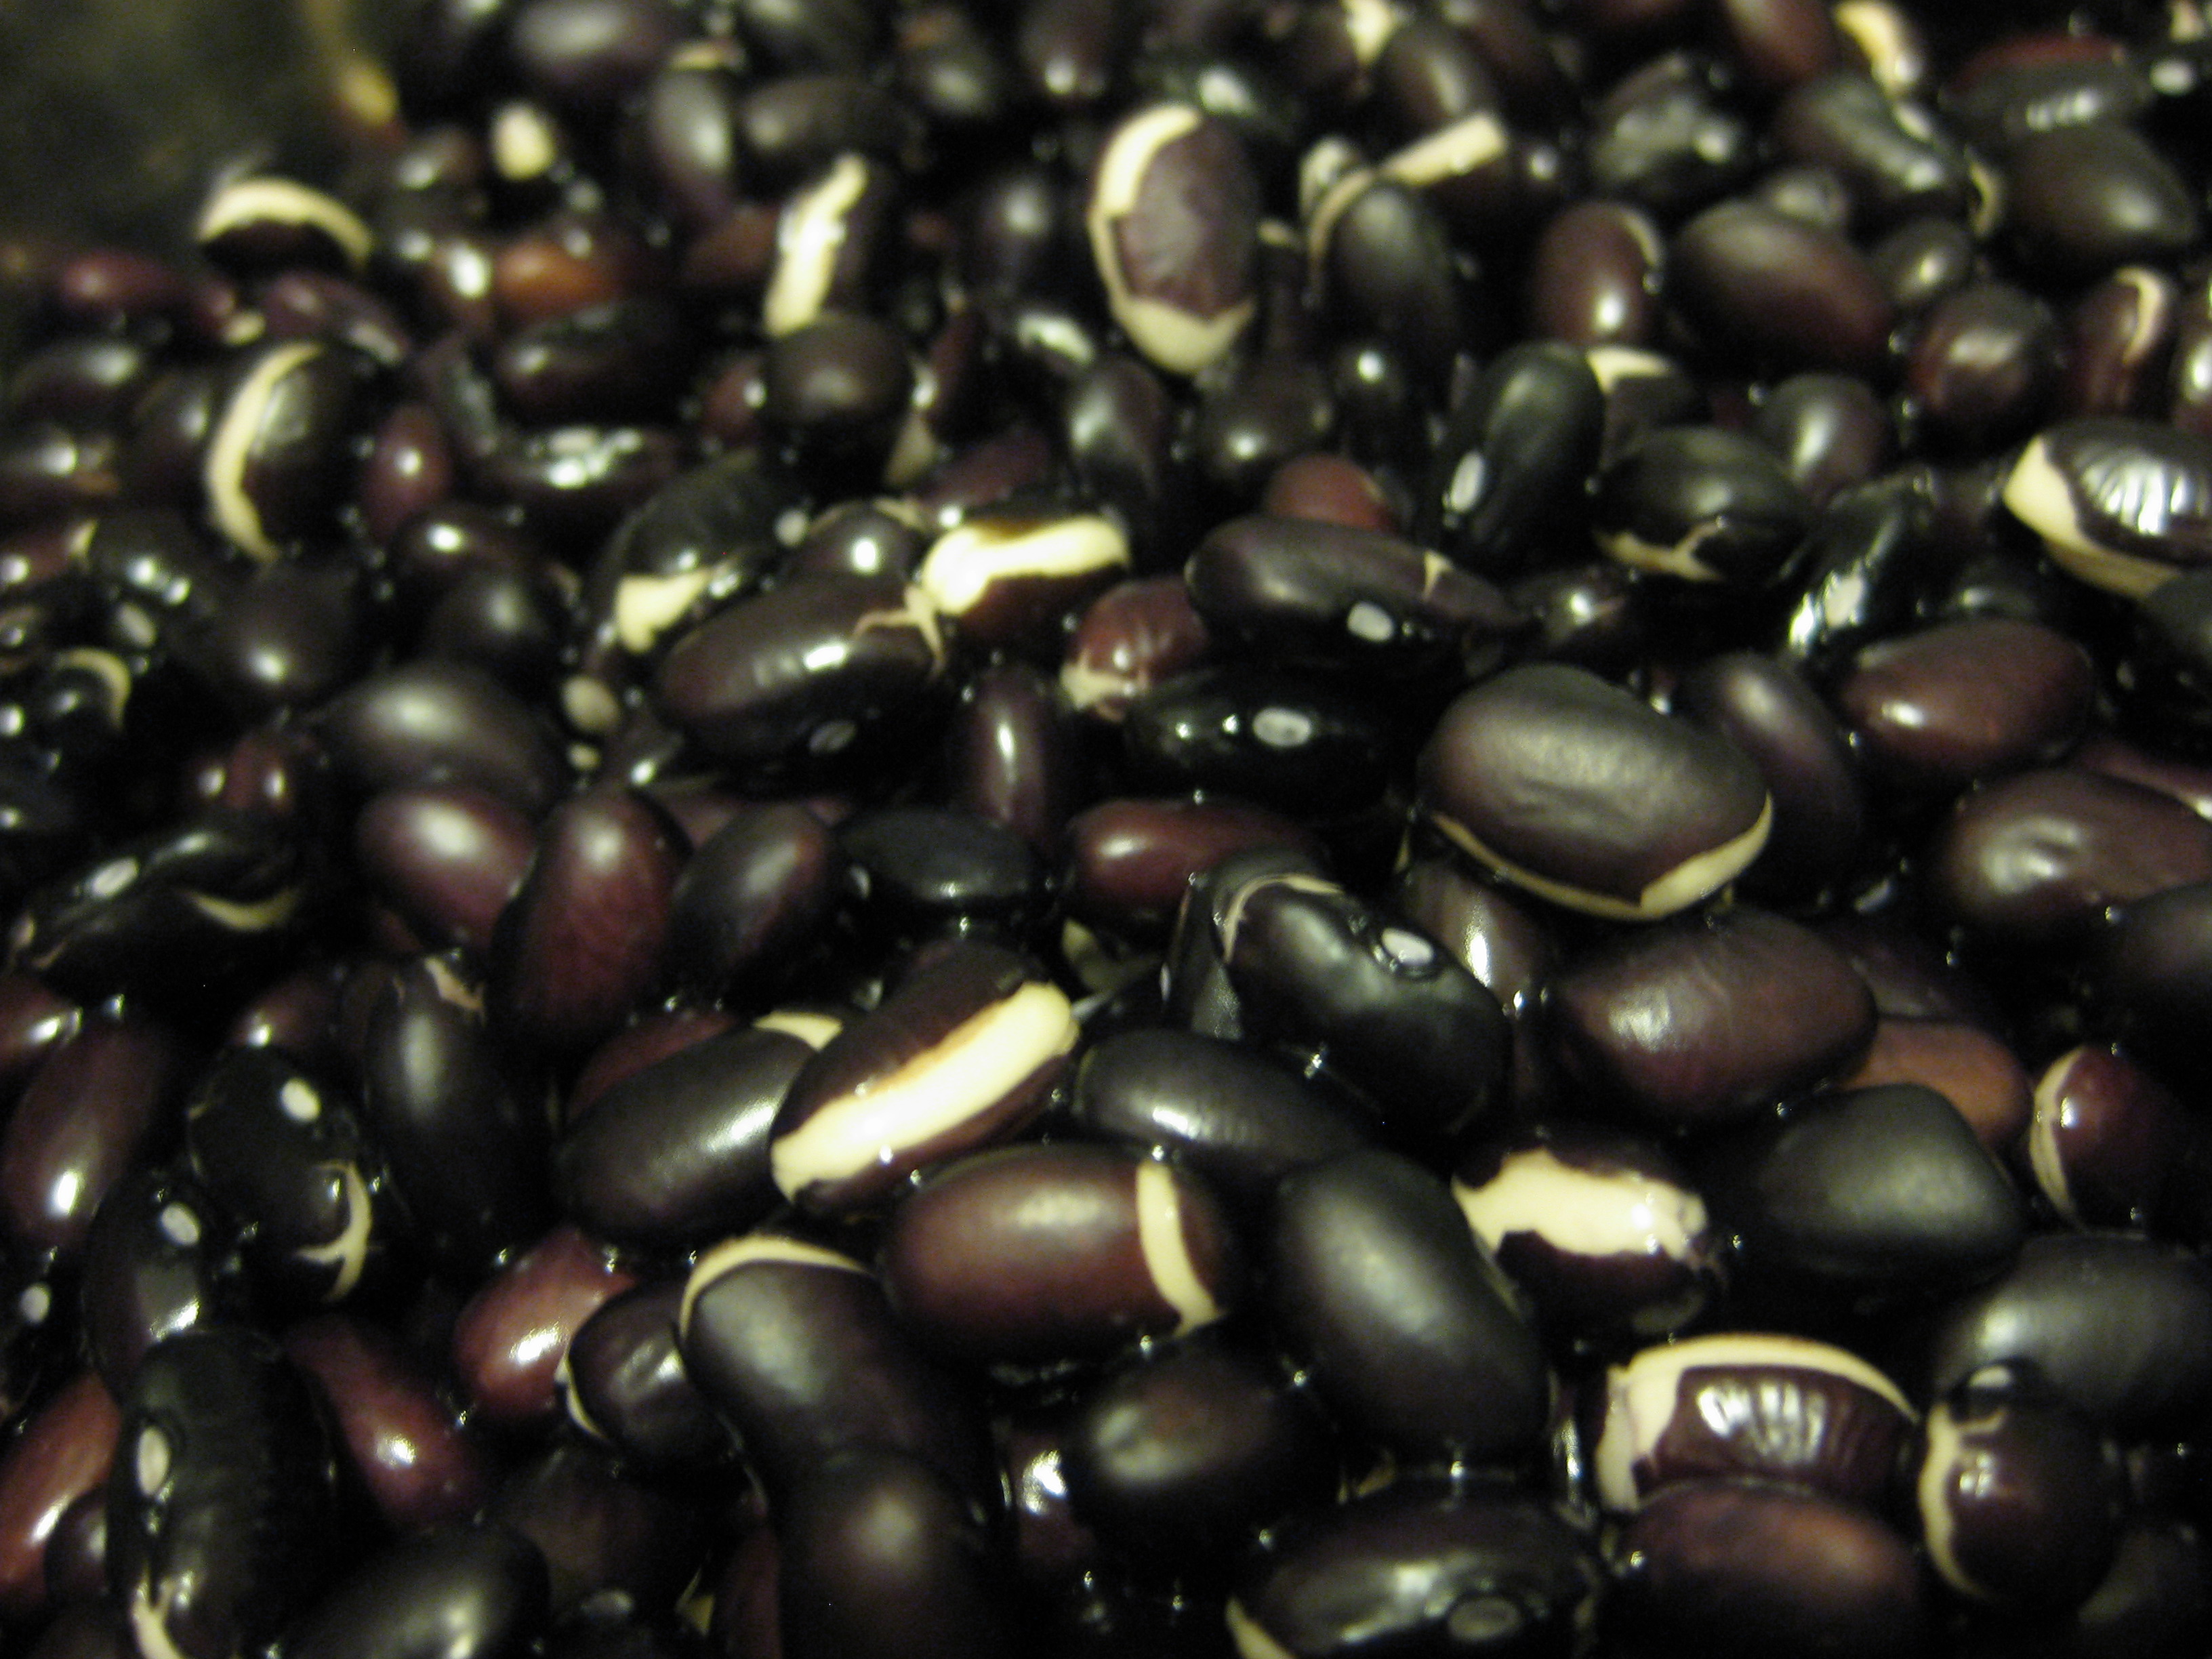
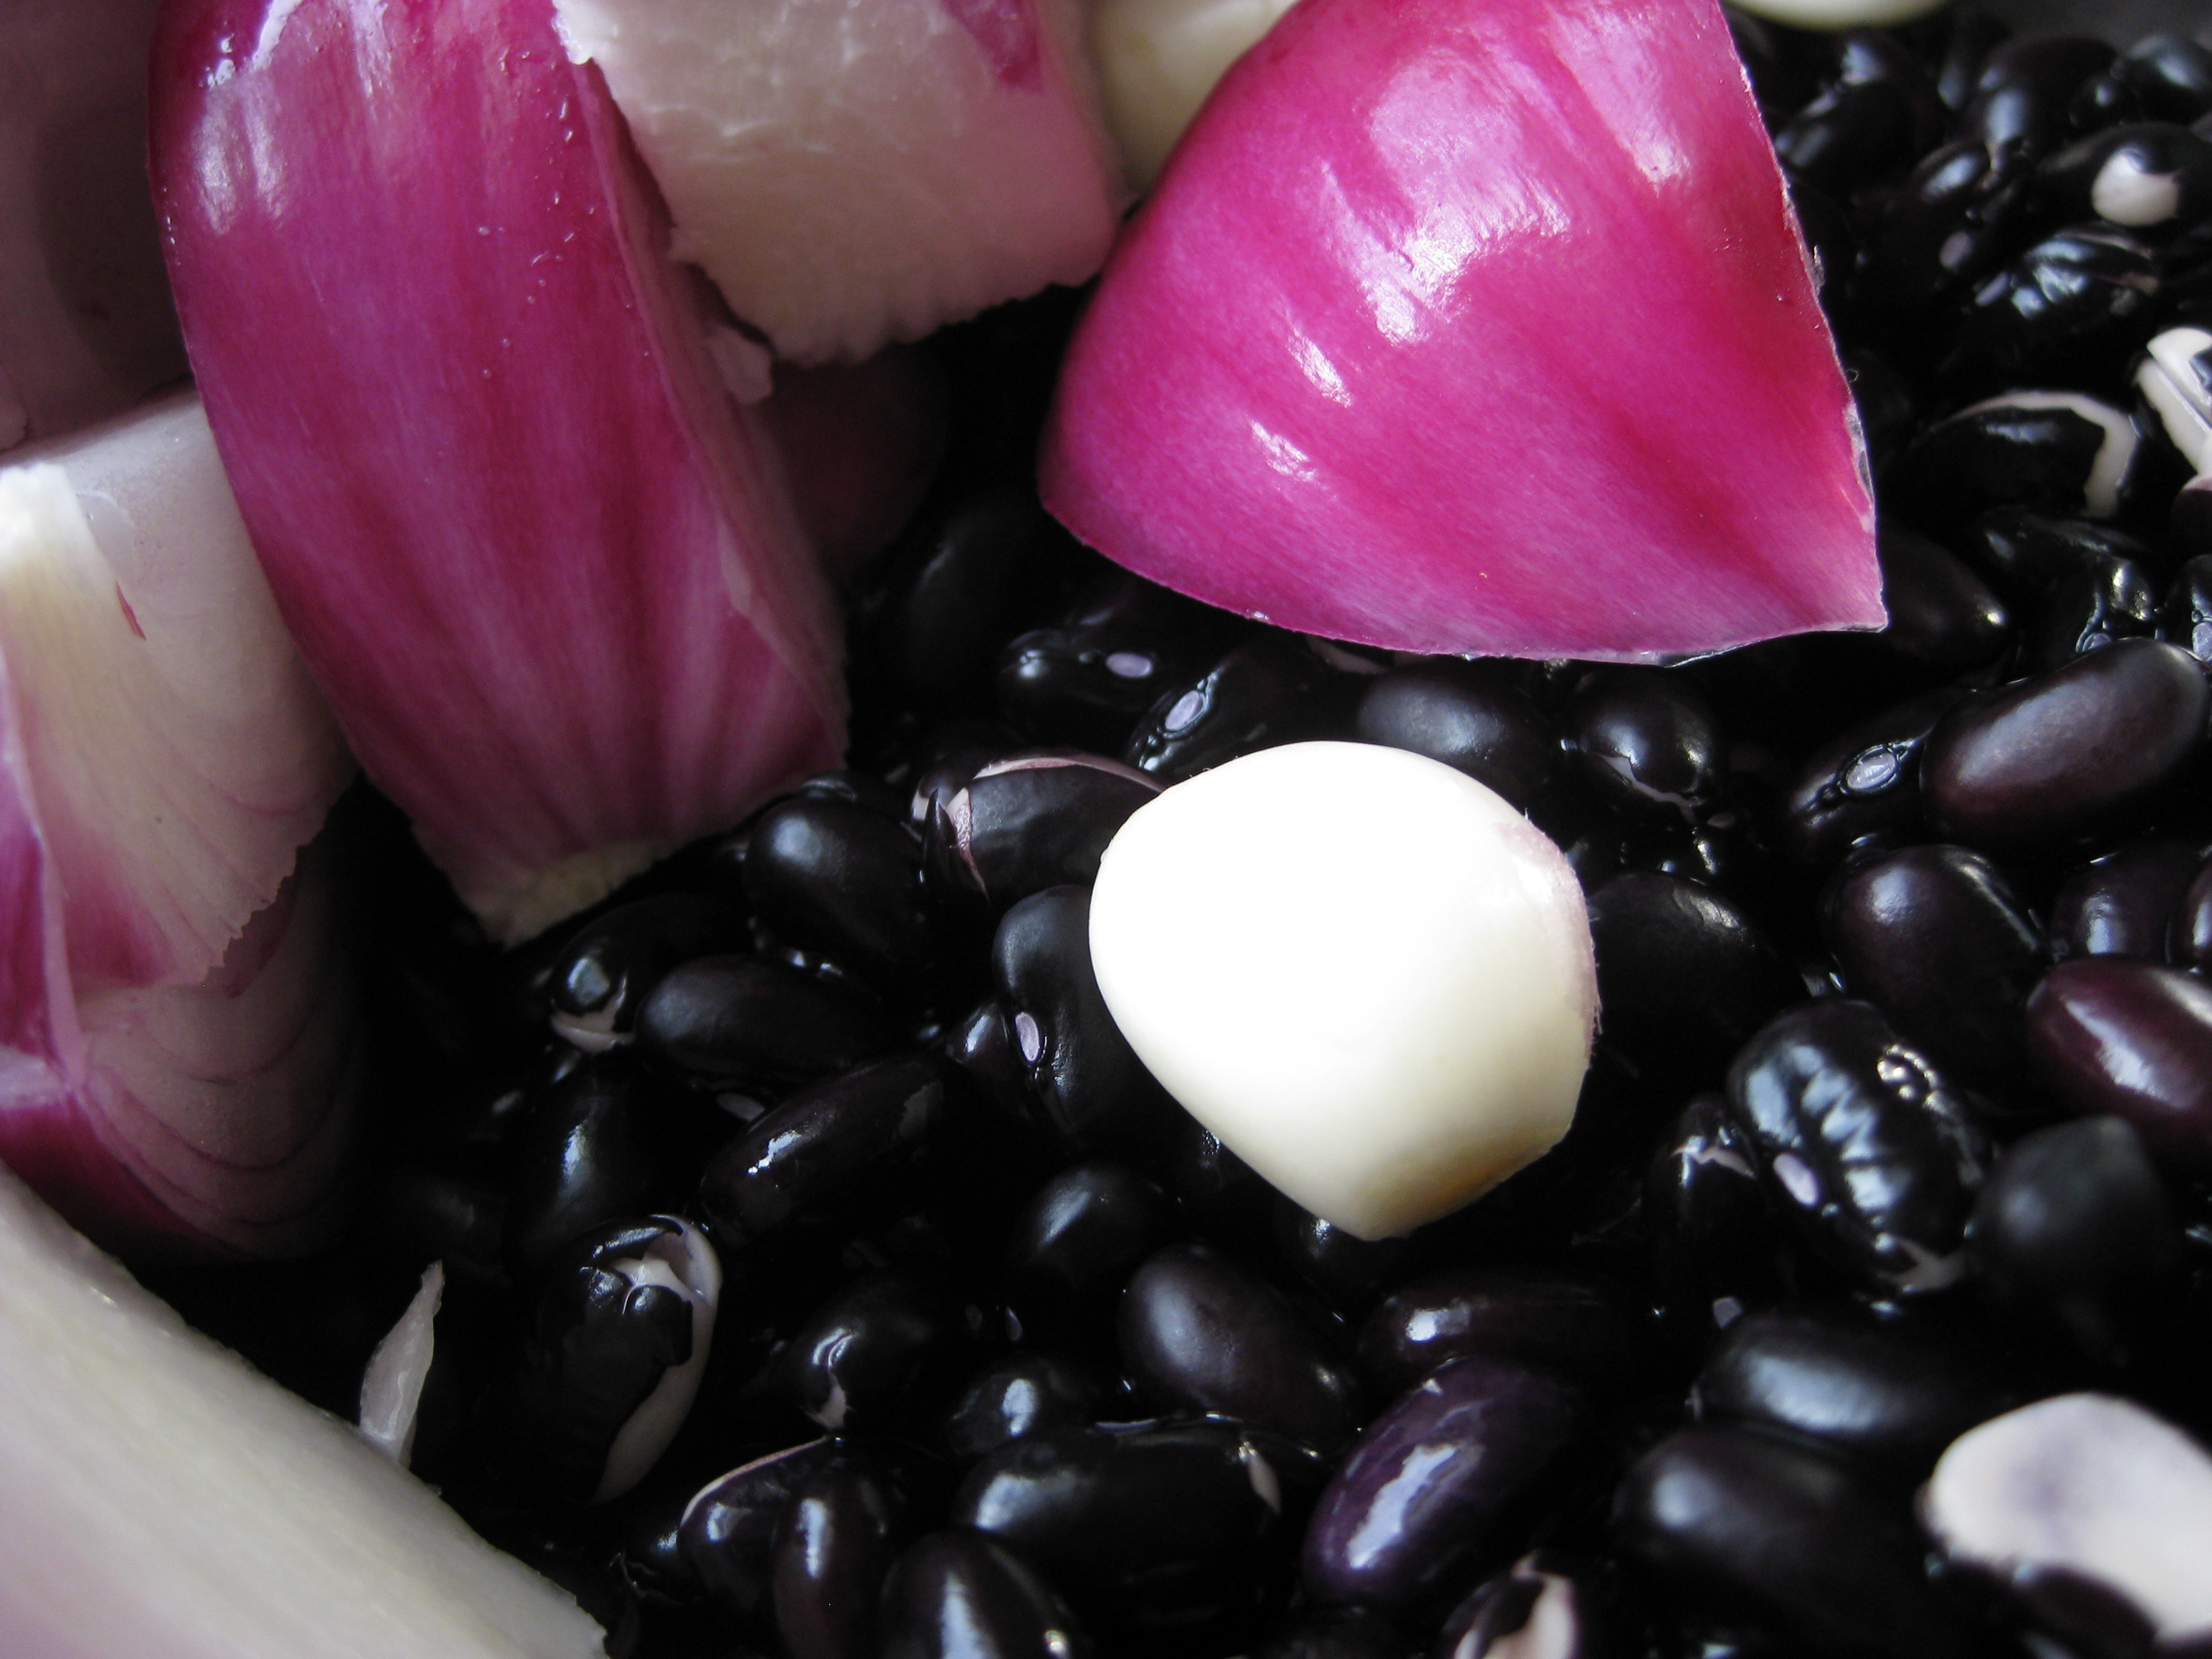
It was Stephy who introduced me to black beans, and I’ve never looked back. Black turtle beans have a dense texture, unlike the starchy flouriness of pinto beans, and stand up to flavours well. They require lengthy cooking, but are very low-maintenance and the end result is a delicious, inky, creamy and deeply flavoursome dish.
Frijoles negros
250g dried black beans
1 onion, cut into eighths
5 cloves garlic, peeled
Six large sprigs of thyme
Five bay leaves
Two slices of bacon
oil
salt
Bay leaves and thyme are essential to this dish.
Normally, you would begin a bean-based recipe by soaking the beans to reduce your risk of being poisoned by the toxin phytohaemagglutinin. With this particular recipe there’s no risk of that since you cook them for ages anyway, but you can soak them for a few hours to reduce cooking time. If you don’t have time for that, it doesn’t matter – you might just have to keep them on the stove for a bit longer.
Place the onion, garlic into a pot with a splash of oil and cook gently for a few minutes.
So beautiful in the pot!
Add the black beans, thyme and bay leaves and cover with water. Bring to a boil and simmer for one hour. Skim off any scum that appears on top and make sure they’re not boiling dry, adding water if necessary.
After an hour, add the bacon and a pinch of salt and return to a simmer for another hour. You can leave the bacon out if you’re vegetarian, but I find it provides a good weighty saltiness to the beans.
Beans reach a stage where the skin begins to lift off if you blow on them. You actually want to take these beans beyond that stage, to the point that they provide no resistance when you want to mash them.
After the beans are cooked, you’ve got a few options. The Mexican culinary goddess Thomasina Miers, of Wahaca fame, takes the cooked beans and fries them with a large amount of lard or butter plus additional onion and garlic, then processes them until smooth. She serves them with sour cream and a crumbled mature cheese.
Frijoles on salad.
I absolutely love Wahaca’s frijoles and they have never failed to transport me to the heights of culinary bliss, but at home in the tiny kitchen I find the second stage too fiddly and guilt-inducing. Instead, I take a fork to the cooked beans and mash until creamy. Don’t drain the cooking liquid, as you’ll need it to store the beans and to mash any leftovers the following day. Before reheating in a microwave, cover the beans with a little water to prevent them from drying out.
I like to serve frijoles negros on a pile of fresh, crunchy salad topped with pickled jalapenos and guacamole. A handful of corn chips rounds everything off nicely.