When the air is crisp and the days are short and cool, there’s nothing quite like a beef and red wine stew.
You’d be forgiven for having a sneaking suspicion that it’s a great excuse to snaffle myself a nice glass of red with dinner, but really, it’s so much more than that. I don’t eat a lot of beef, but when I do there’s a certain weightiness to it that’s perfect for a cold winter’s night.
There’s something very comforting about the tried-and-tested combination of beef, carrots and herbs, muddled together in synergistic harmony. Then there’s also the ritual of mushing an already-soft stew with a fork so that it falls into a tender heap atop a bed of mashed potatoes, staining their creamy perfection with little rivulets of rich gravy.
The first taste is like a big, warm hug. If you’re under the weather, out of sorts or nursing a broken heart, this is the stew you want to cook.
Beef and red wine stew
750g chuck steak, cubed
4 tbsp plain flour
2 onions
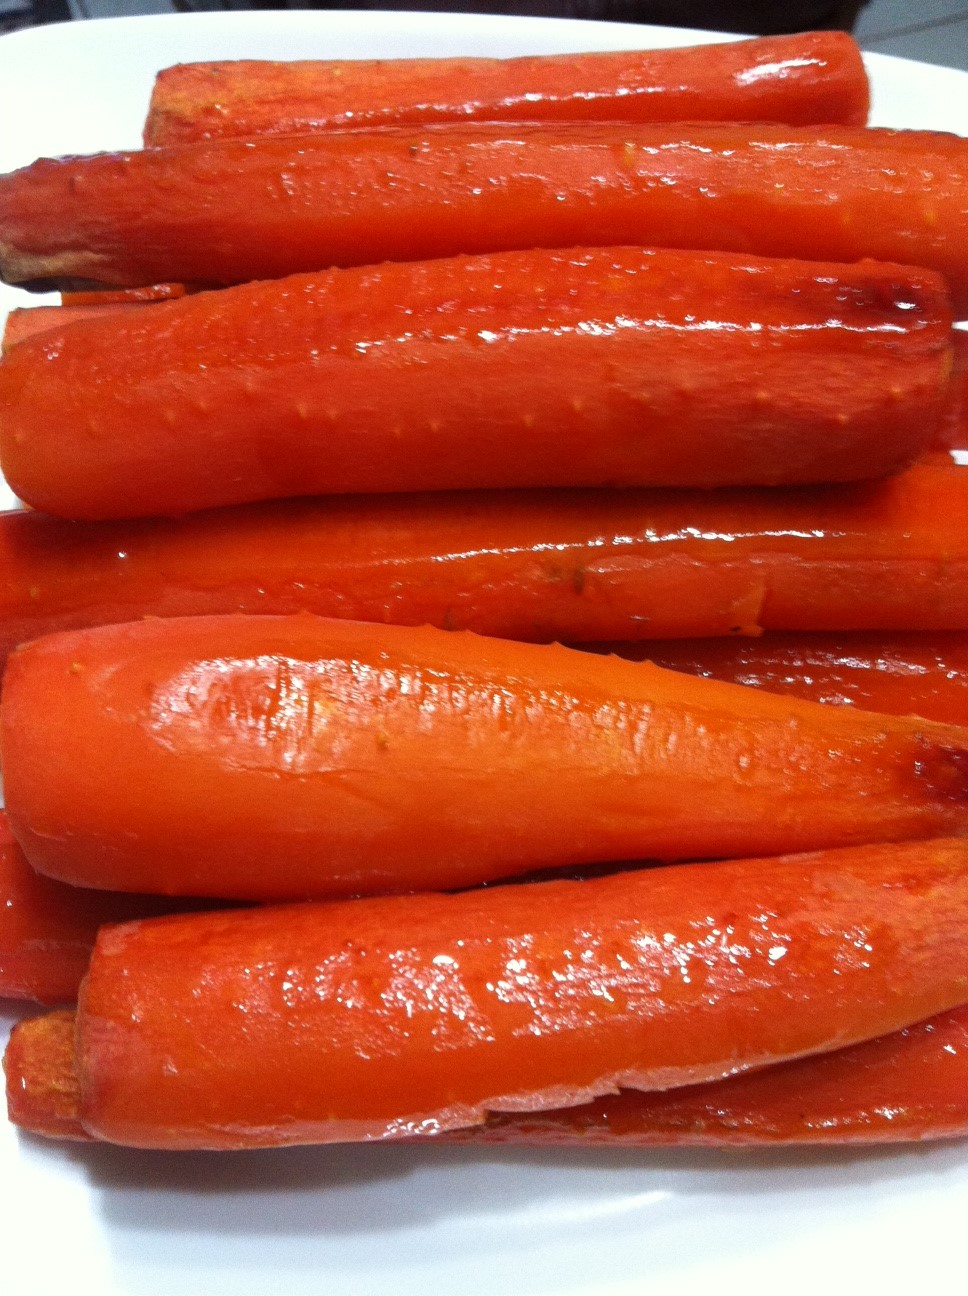
5 carrots
2 sticks of celery
2 tomatoes
3 cloves garlic
1 sprig of rosemary
1 small handful of parsley
500ml beef stock
250ml red wine
Salt and pepper

Start by quartering the onions and placing them, with a little oil, in a large pot over a low heat.
While it’s warming up, chop the celery and 1 carrot into very small pieces. Add these to the pot and cook over a low heat.
Season the flour with salt and pepper and toss the cubes of steak in the flour, coating them with a fine dusting. Add the steak to the pot and fry until browned.
Add the other carrots, stock, red wine, rosemary and tomatoes. Cover and simmer for 2 hours or until the beef falls apart. Remove the tomato skins and rosemary before adding the parsley at the very last minute.
Garnish with a little extra chopped parsley and serve with greens and potatoes.
Let’s talk about wine: the general consensus amongst the cooking community is that it’s not a huge issue what kind of wine you use, but it must be good enough to drink on its own. If you go buying crappy wine that you wouldn’t serve, the flavours are intensified when you cook it, giving you a horribly bitter stew with a cheap aftertaste that’ll remind you of every Friday night of your 20s. Just say no.